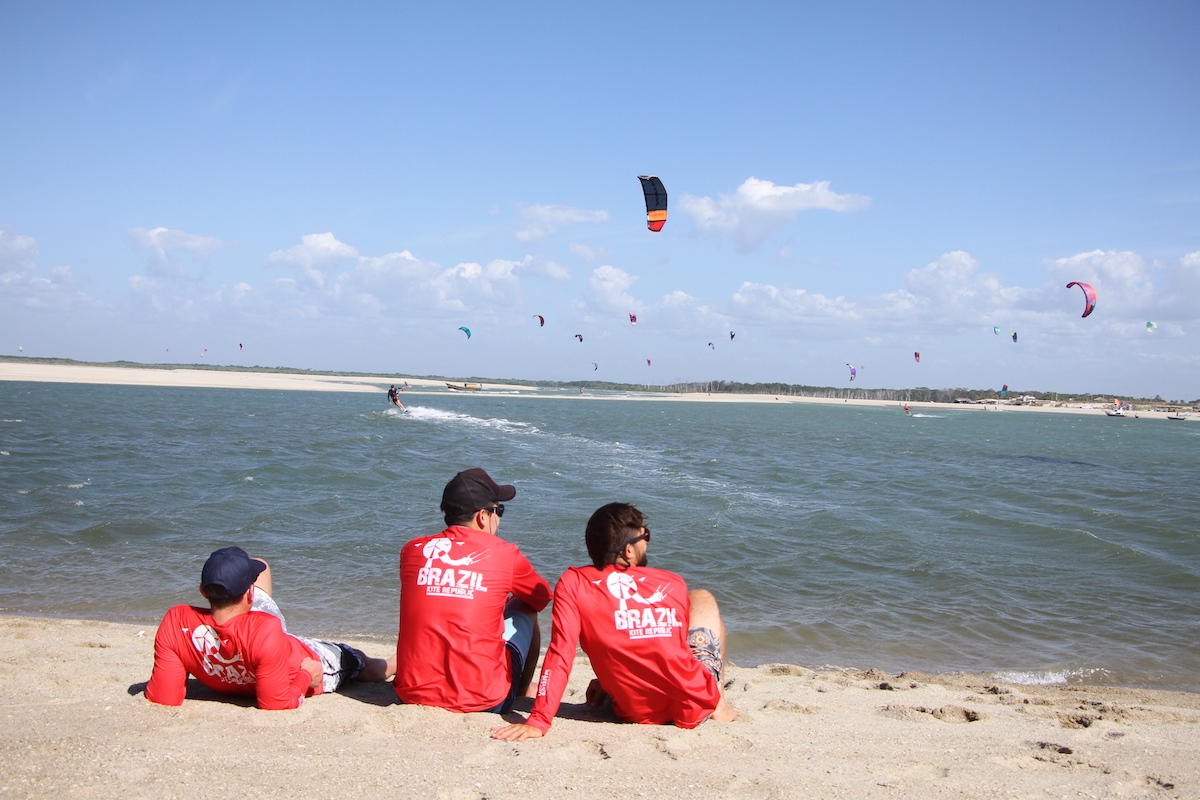
There is nothing more exciting than heading off on a Kitesurfing Tour. But the two questions we often get in tour season are… “What do I need to take on my kitesurf tour?” and “How should I pack for my kite trip?”
We’ve put together this Kiteboarding Tour Packing Tips page to help give you an insight on what you need to take on your kite trip, and how best to pack it!
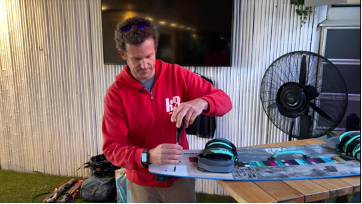
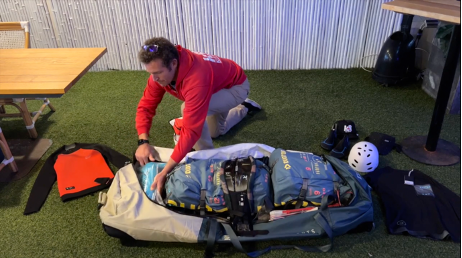
Check out the full video HERE or by clicking on the picture above.
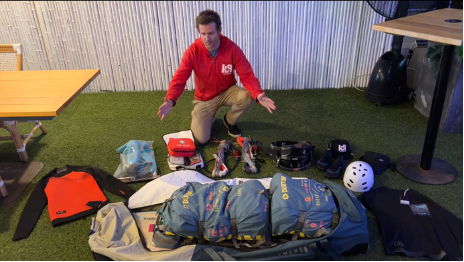
What equipment do I take?
- Kites: We recommend taking a minimum of two kites and often a third. This will allow maximum water time. Make sure you ask your tour organizers, what the conditions will be to find out what the best sizes will be.
- Bar and Lines: We recommend having an additional pair of bars and lines, to your frequently used one. If there is no access to a local retailer at your destination, this backup will come in handy as you wouldn’t want to miss out if you accidentally cross lines, etc.
- Board: Twintip and/or Directional.
- Bindings: (Twintip) or Straps (if directional optional)
- FCS Ratchet Tool: Extremely handy for putting your board parts together.
- Harness: With Safety Leash
- Emergency Kite Repair Kit: If you have no clue how to use it, we guarantee another kiter on tour will be able to help you! See here
- Pump: Go for the smaller size pump if you have the option.
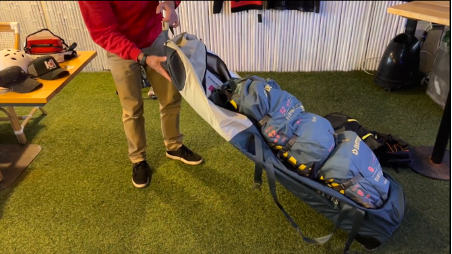
- Travel Gear Bag: Check out our Range HERE. We recommend the ION Gearbag Core or TEC.
- First Aid Kit
- Spare Parts for your Bar and Lines: a spare safety line, trim line, etc as a backup are key so you aren’t stuck out of the water!
- Optional: Compression bags
- Optional: Reef walkers/ Booties (dependent on destination)
- Optional: Helmet, if you’re using a foil, or in crowded areas, it is recommended.
- Sun Protective Accessories
- Sunscreen / ZINC
- Poncho/Towel
How do I pack my Kiteboarding Travel Bag?
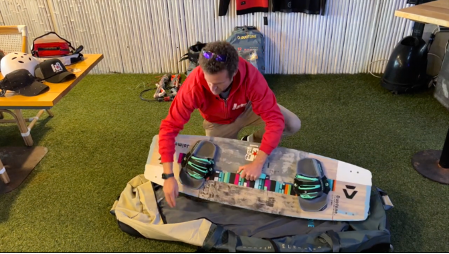
Step 1. Preparing your kiteboard for travel.
- For any boards, any fin needs to come off. You don’t want anything sharp cutting into the bag, or damaging any other gear near it. TIP! Leave the screws inside the fins so you don’t lose them!!
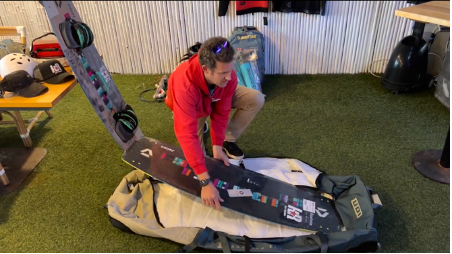
- If layering boards, the bottom board must have bindings/handles off too.
- TIP! Between every board, use your poncho/beach towel to avoid scratching friction in between the boards.
- Clip the boards together, to avoid movement. Most bags will have this strap.
Step 2. Preparing your kites for travel.
The next big item we have is kites. Will you need the kite bags or could you leave them behind or put two kites in one? Consider how you will be moving throughout your kite tour and whether having the actual bags is beneficial. You could also consider compression kite bags to minimize size and save space.
Packing techniques for 2 kites in 1 bag
- Option 1. Lie the bigger kite down, and the small kite on top of it, then roll them neatly as you would. Take note if any battens are in the wrong spot for folding that may cause damage. Obviously, this means, you’d have to unpack both kites at the other end.
- Option 2. Open up your kites, brush them down to there is no sand (extra weight) and they are dry. Neatly fold them as small as possible, to fit two in one bag.
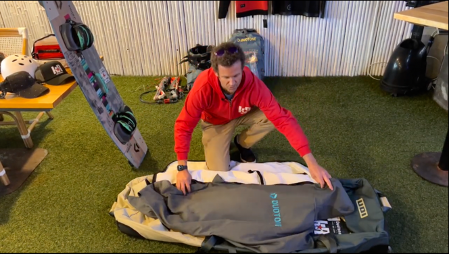
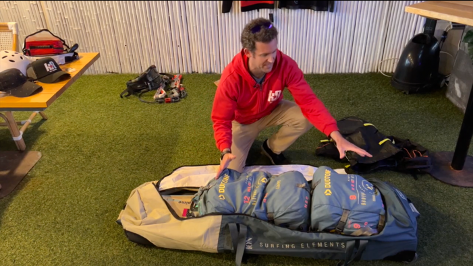
Once you have figured out what works for you as the smallest kite packing possible, pull on the bag side straps and make them even smaller. The kites are most likely your heaviest item in the bag, therefore placing them at the bottom part of your bag where the wheels are would be the most effective. That way, when you walk with your bag, your board gives the bag its shape and the weight sits comfortably at the bottom without the top folding over.
STEP 3. What’s the next heaviest/biggest item?
- Bar and Lines are most likely your next heaviest. Slide them along the side, towards the end of the bag (wheel end), and in a suitable spot for them.
- Pump & Harnesses can be odd sizes, however, our travel bags are spacious! For harnesses, we recommend taking off the spreader bar and positioning the harness hugging the kite bag. This is easier to pack in two separate bags. The pump is perhaps a more fragile item. If it’s positioned to the side and gets hit, it can get easily damaged. Try to fit in between the middle rather than along the sides, to also add more structure to the bag.
- All ION Gear bags include a Tool Bag, which you can fill up with your Ratchet Tool, fins, sunscreen, first aid kit, etc. Find a suitable position for it, taking its weight into consideration.
STEP 4: What’s left? Extra accessories
- The extra neoprene and protective accessories can all be folded up and packed along the sides for additional protection to the boards.
- We leave all these bits last and they are little and can slide anywhere.
Once you feel have everything ready to go, it’s time to zip it up! You can tighten the side buckles and make the whole bag smaller. Grab your Lugagge Hand Scale and make sure you are within the allowed weight range!
Good luck with your trip! We hope this rundown and our packing video helped give you an idea of the essentials and how to pack them. We are always here for questions, and to help make your kiteboarding holiday an unforgettable one!